Hello, eXplorer(s)!
In this tutorial, I will teach you how to use the Script feature (embedded in the Channel interaction):
.
1. Log in the PX platform and click on Journeys on the menu.
.

.
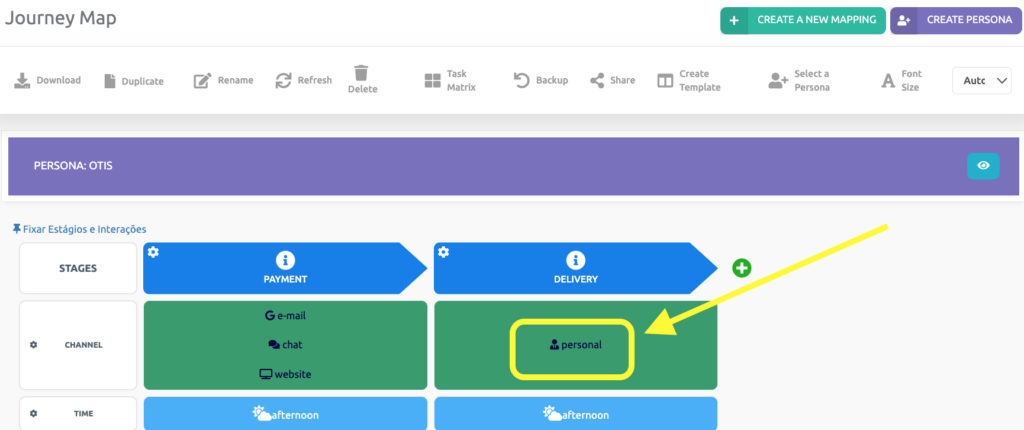
2. Open the Journey you are editing and on the Channel interaction line click on the stage you wish to add a script to.
.
.
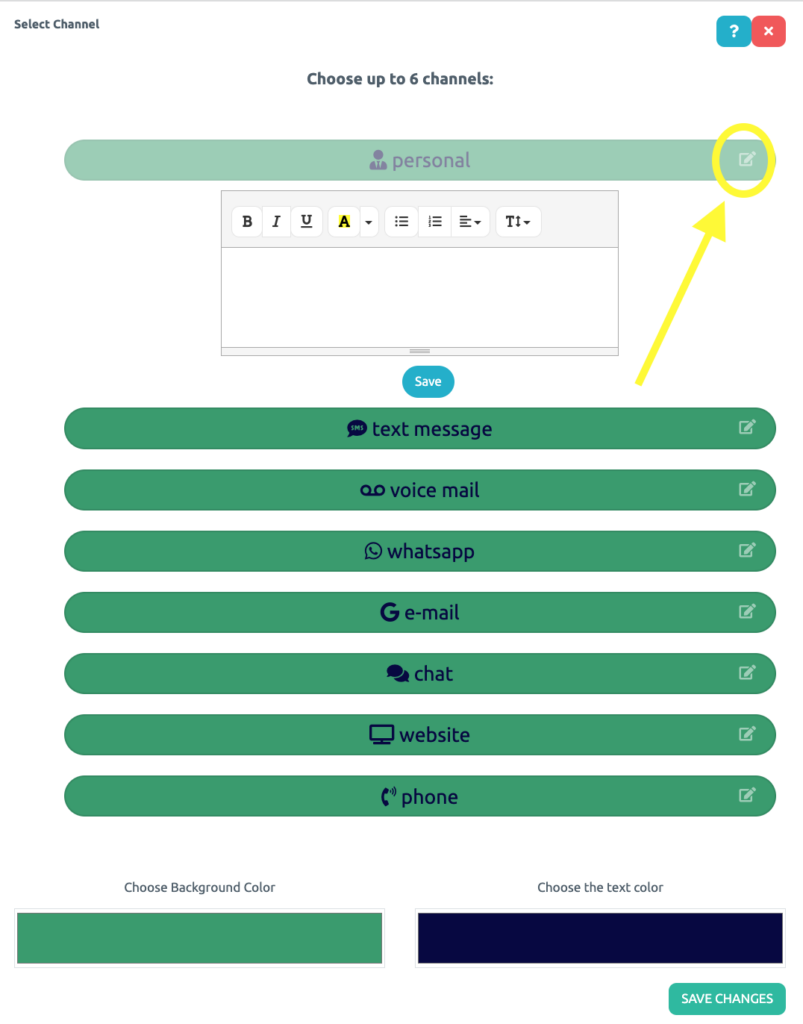
3. Click on the highlighted symbol to insert the script.
.
.
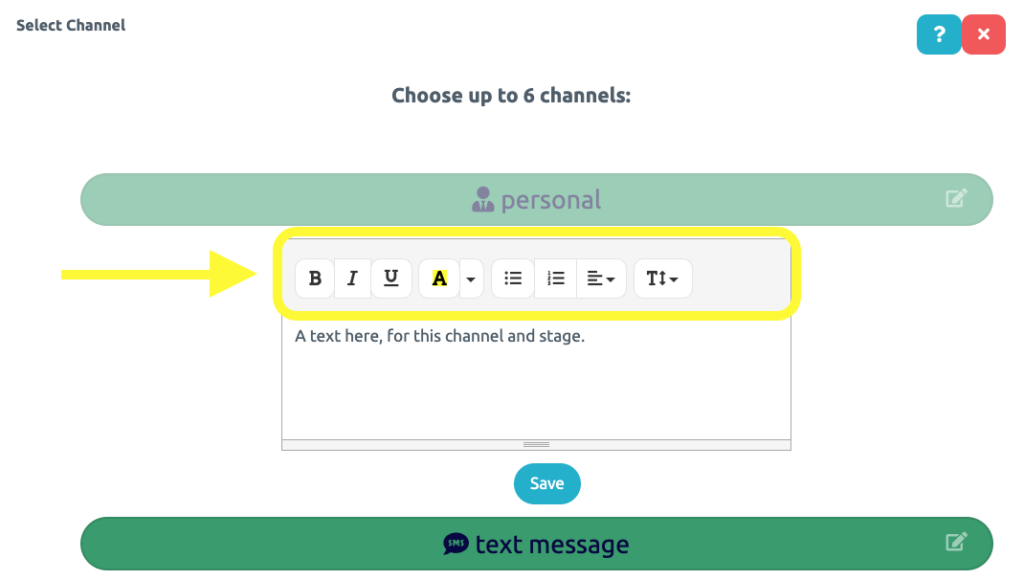
4. Enter the script to be used for communications with your customer, on the persona’s preferred channel and at each stage. Then customize your text using the indicated Toolbar.
.
.
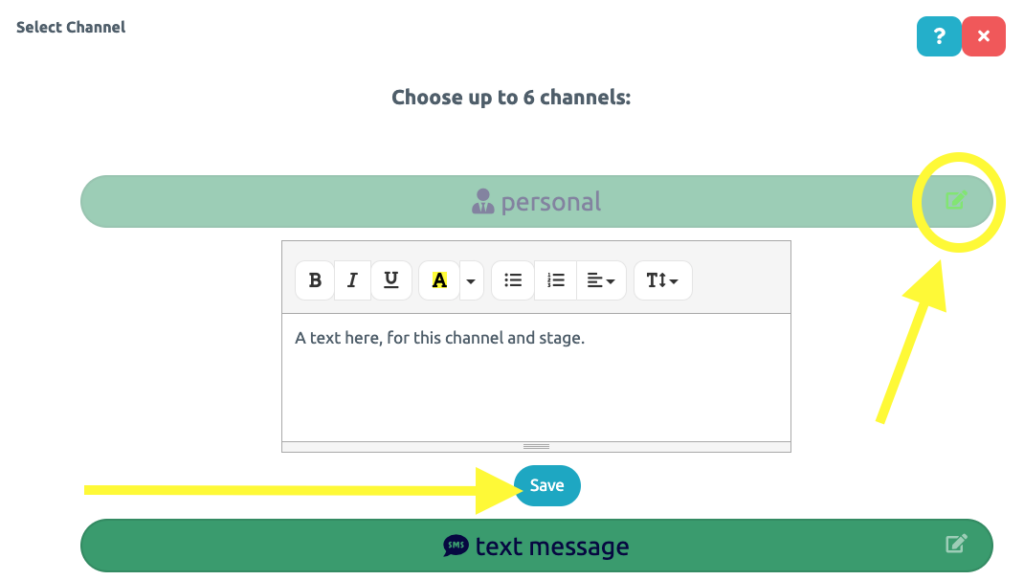
5. Select Save and the platform will indicate the existing scripts by turning the highlighted icon green, as shown in the figure below.
.
.
See you in the next tutorial and keep sharing good experiences with PeopleXperience! 💙


