Hello, eXplorer(s)!
In this tutorial, I will teach you how to use the Columns Interaction:
.
1.1 Go to the Journey Map footer and click Add Interaction.
.

.
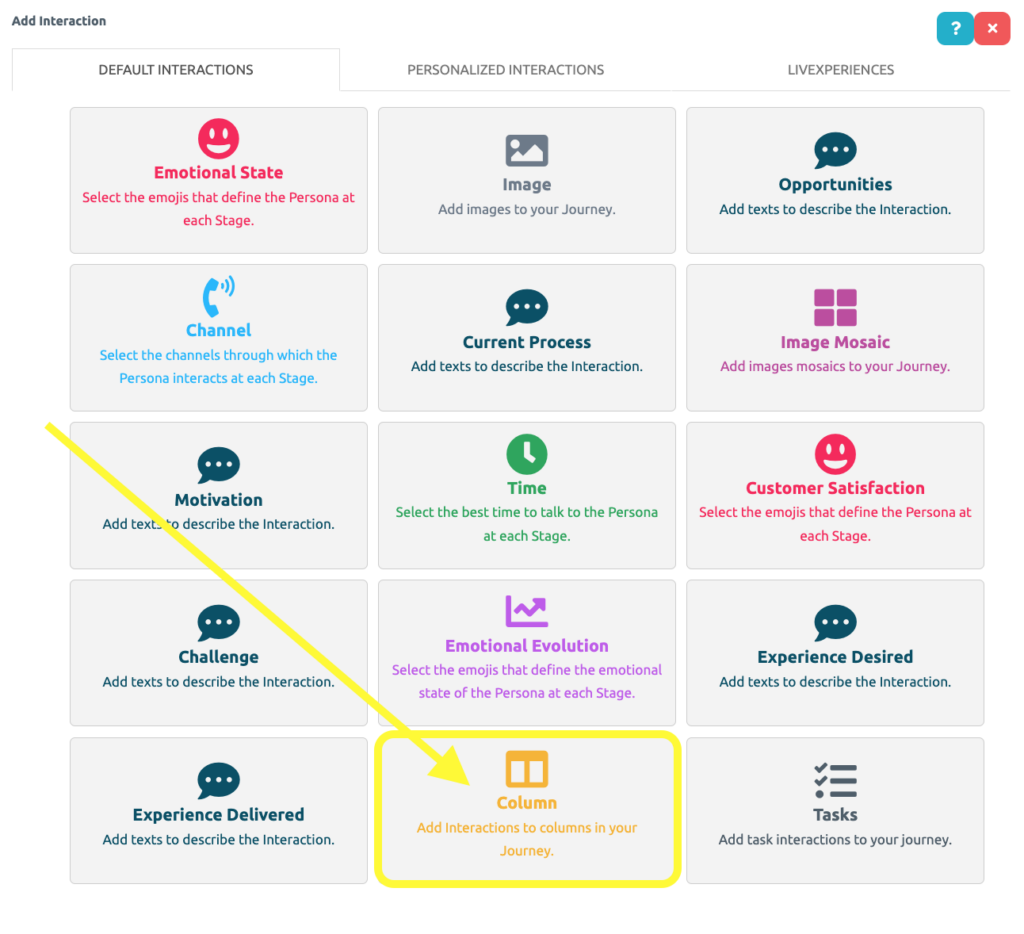
1.2. In the Standard Interactions, select Columns Interaction, as shown in the following image:
.
.
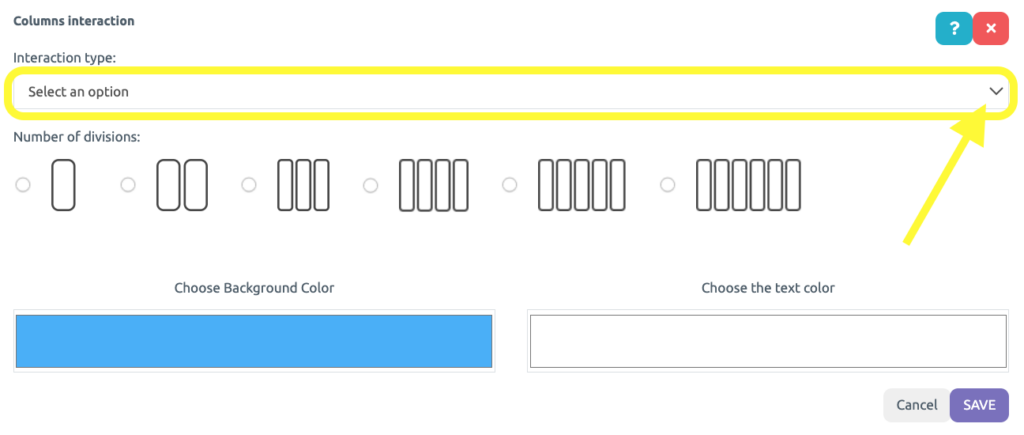
1.3. The Interaction has been added to your Journey Map. Now click on the location indicated by the yellow arrow to configure the Columns.
.

.
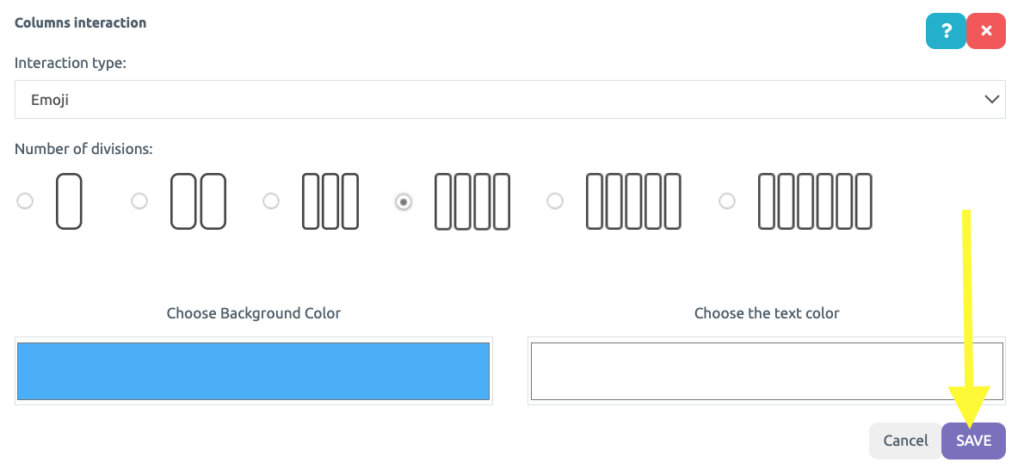
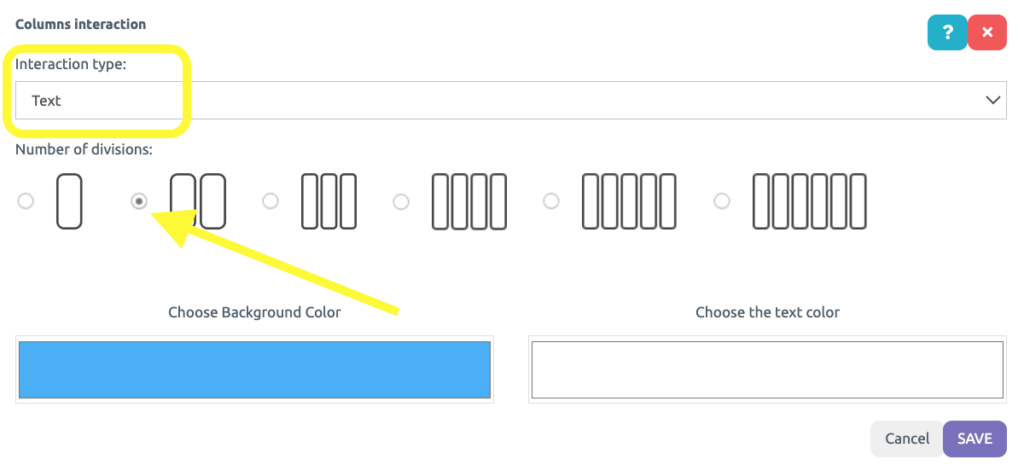
1.4. Select the type of Columns Interaction.
.
.
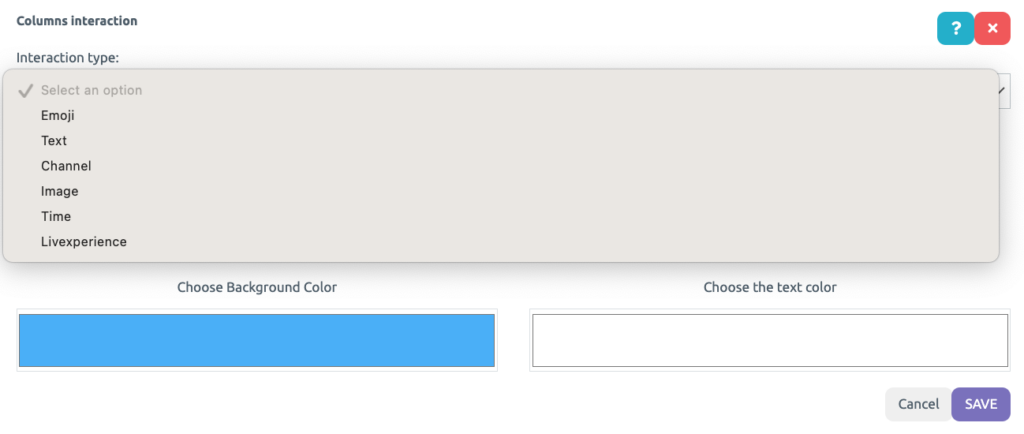
1.5. Choose any of the following options: emoji, text, channel, image, schedule, or LiveXperience type only for Enterprise eXplorers.
.
.
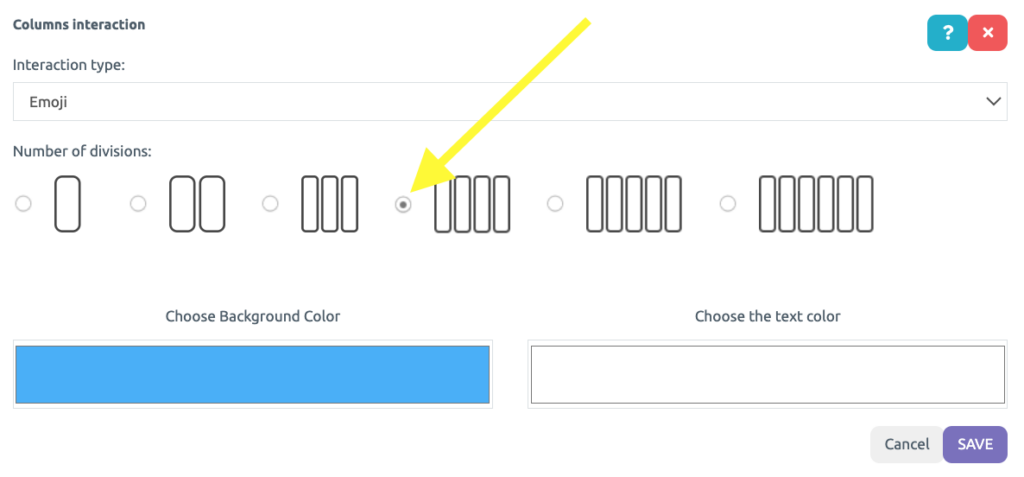
1.6. Next, select the number of columns you would like to divide this stage of the Journey into: 1, 2, 3, 4, 5 or 6.
.
.
1.7. Click on the purple Save button in the bottom right footer.
.
.
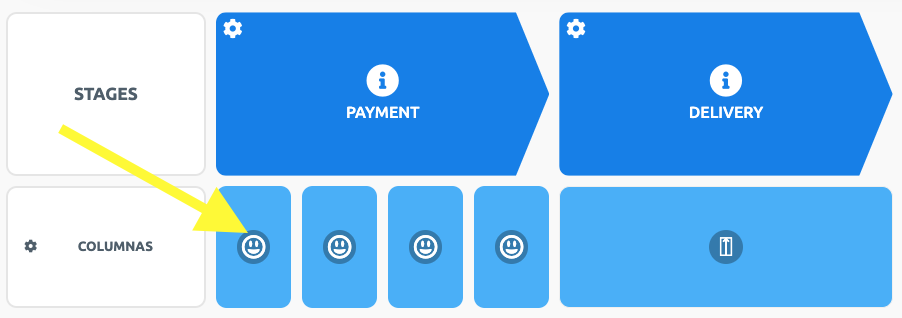
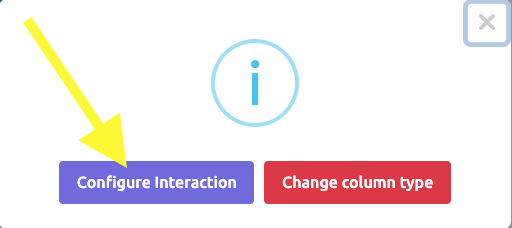
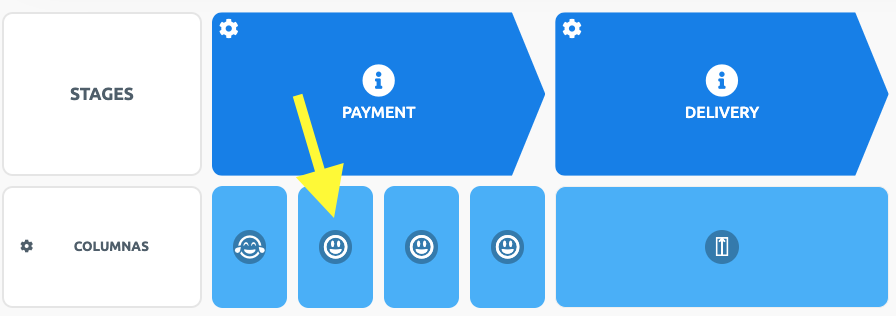
1.8. The columns have been defined. Let’s now add content to them! To do so, click on the location shown in the figure below, then on the purple button Configure Interaction.
.
.
.
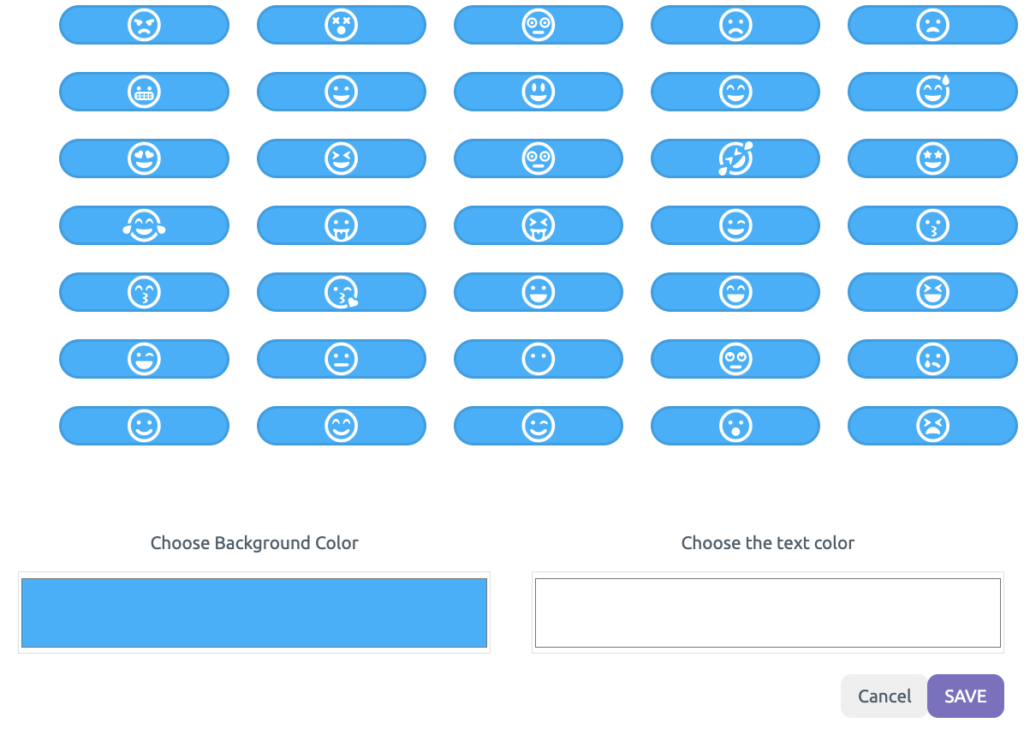
1.9. In this example, I selected an emoji-type interaction, so my options will be as shown accordingly in the image below. Choose an option and click on it.
.
.
1.10. Repeat the process for the others sub-columns in this stage.
.
.
In the first stage of the example (Payment), I configured the Columns interaction with four sub-columns of the emoji type.
.
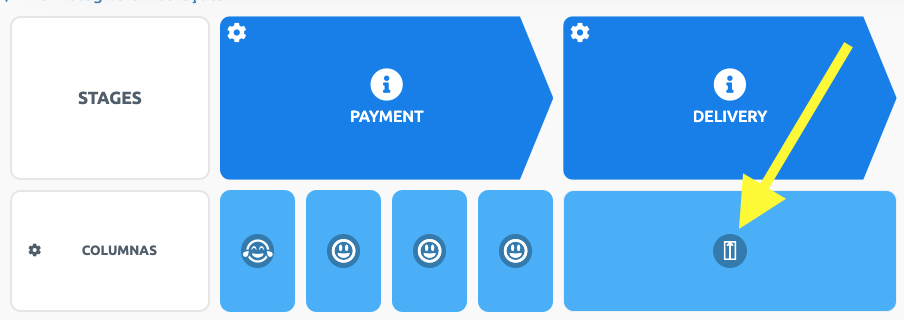
2.1. However, in the second stage of the Journey, I can configure it differently, regardless of the previous stage. Check the image below.
.
.
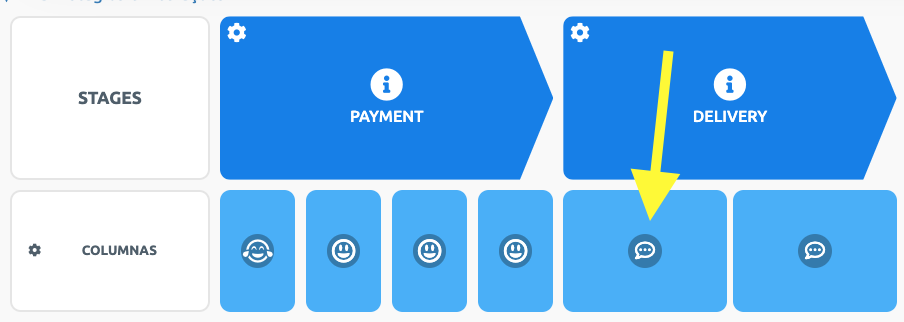
2.2. This time, I configured the Columns Interaction with only two sub-columns of the text type.
.
.
Now that you know how each stage of the Journey can have 1 up to 6 sub-columns independently, and that they can be of various types (emoji, text, channel, image, schedule, and LiveXperience), let’s learn how to change the number of sub-columns and their types.
.
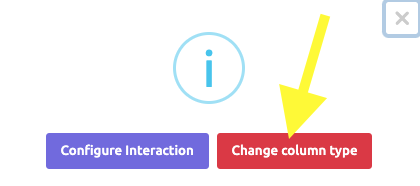
3.1. Click on the location indicated by the yellow arrow.
.
.
3.2. Choose the option Change Column Type.
.
.
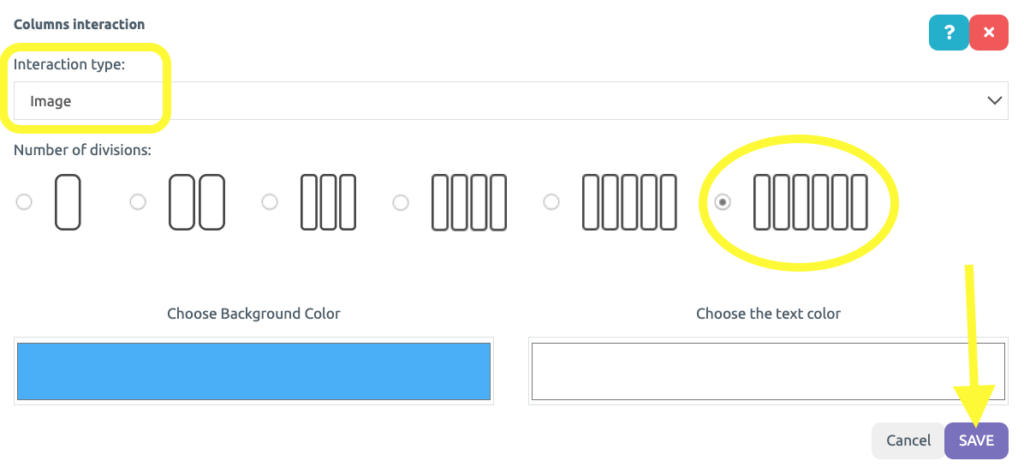
3.3. Finally, choose the type of Column Interaction once again and the number of sub-columns, then click on the purple Save button.
.
.
Configure the sub-columns as you have learned before.
.
See you in the next tutorial and keep sharing good experiences with PeopleXperience! 💙


