Hey, eXplorer!
In this tutorial, I will teach you how to add people in the Corporate Directory, also known as Tenant:
.
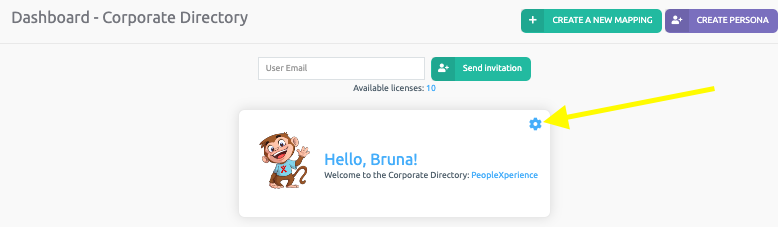
1 After logging in the app, click on Corporate Directory in the app’s header.
.

.
2 Click the gears highlighted on the image below.
.
.
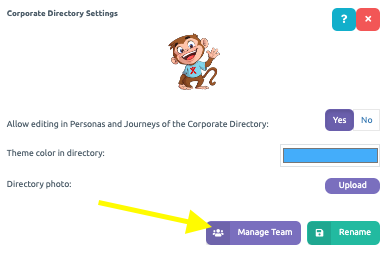
3 Click on Manage Team.
.
.
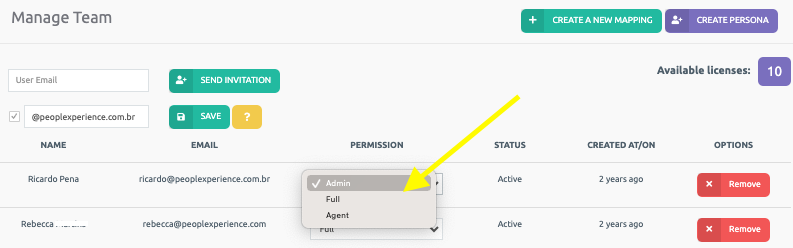
4 There are two ways of adding people to a Corporate Directory: type the e-mail of the User you will add to the Corporate Directory (tenant) and then, click Send Invitation. An “Invitation submitted” message will appear, and the invited person will receive an email with an access code.
The second way is to select the option circled in yellow, type the email domain (@example.com) so that all new users signed up to the Platform with the email domain selected will automatically join the Corporate Directory. To conclude this action, click Save.
.

.
5 Once a new User has been added to Corporate Directory (Tenant), their status will be set to “Awaiting confirmation” until they log in with the code sent through email. Once the status has changed to “Active”, you may rank them as the Corporate Directory’s full, agent, or administrator.
An Administrator can add and remove Users, and establish use permissions on Tenant.
A full can view Journeys and Personas shared on Tenant.
An Agent can see the Agent screen if the customer has a LiveXperience license.
.
.
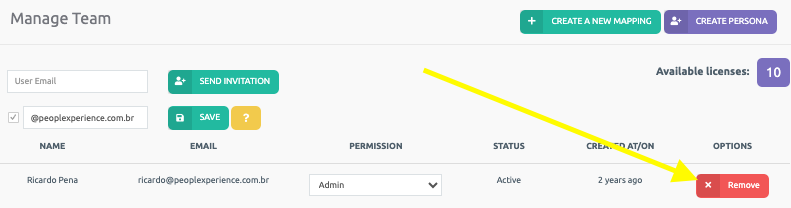
6 If you wish to remove an User from the Corporate Directory, click Remove for their automatic removal.
.
.
See you in the next tutorial and keep sharing good experiences with PeopleXperience! 💙


