Hey, eXplorer!
In this tutorial, I will teach you how to use Folders in the Corporate Directory, also known as Tenant:
.
1 Log in the PX platform and click on Corporate Directory on the menu.
.

.
2 Click on the yellow New Folder button.
.

.
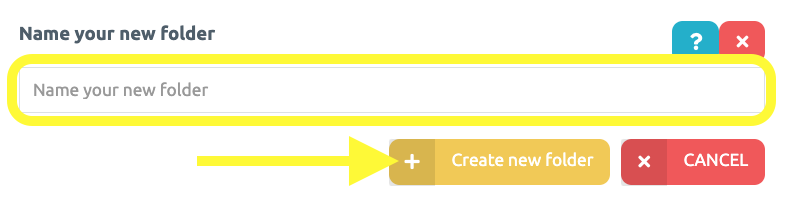
3 Assign a name to your Folder, and then, click on the yellow Create New Folder button.
.
.
4 That’s it! Your Folder has been created and it is now time to insert Personas and Journeys.
To do so, Personas and Journeys must be in the Corporate Directory. See here how to add Personas and Journeys to the Corporate Directory.
.
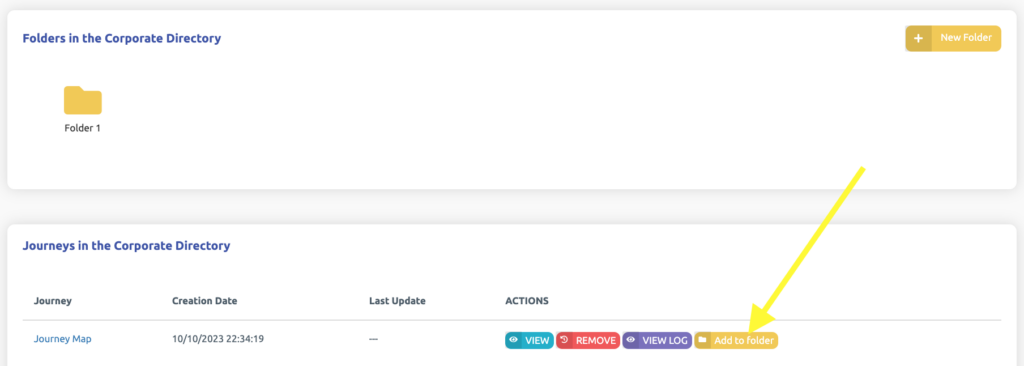
5 In the chosen Journey, click on the yellow button highlighted on the image below to add it to a Folder.
.
.
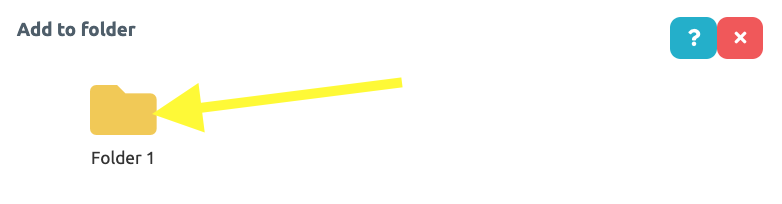
6 Select the desired Folder by clicking on it.
.

.
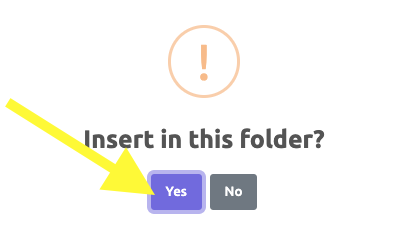
7 Lastly, click on the purple Yes button to confirm the Journey’s inclusion to this Folder.
.
.
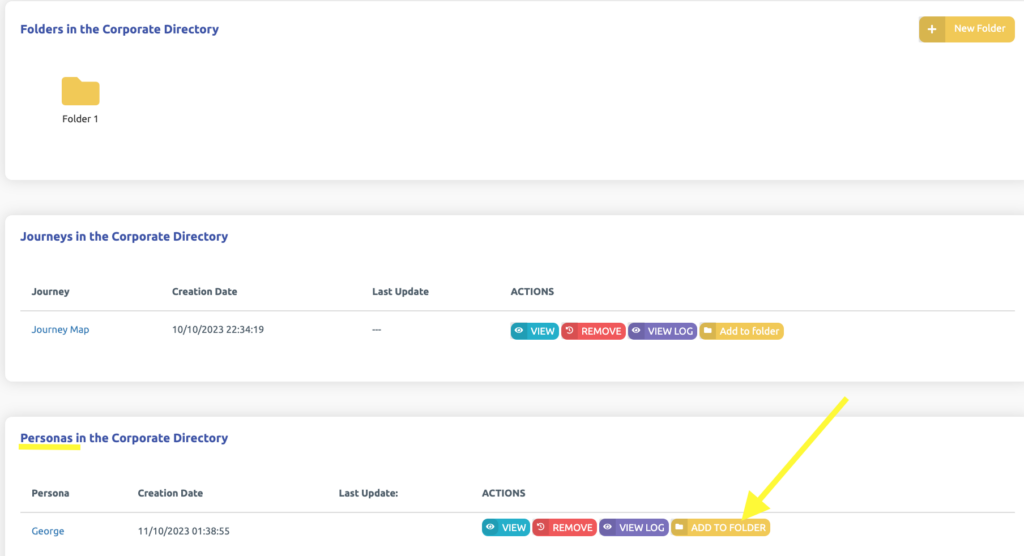
8 Now, let’s a Persona to a Folder. Follow the same steps. In the chosen Persona, click on the yellow button highlighted on the image below to add it to a Folder.
.
.
9 Select the desired Folder by clicking on it.
.
.
10 Lastly, click on the purple Yes button to confirm the Persona’s inclusion to this Folder.
.

.
11 By hovering the Folder with the mouse, its content will appear as displayed on the image below.
.

.
Don’t forget that you can create as many Folders as you want!
.
See you in the next tutorial and keep sharing good experiences with PeopleXperience! 💙


