Hey, eXplorer!
In this tutorial, I will teach you how to create personalized interactions:
.
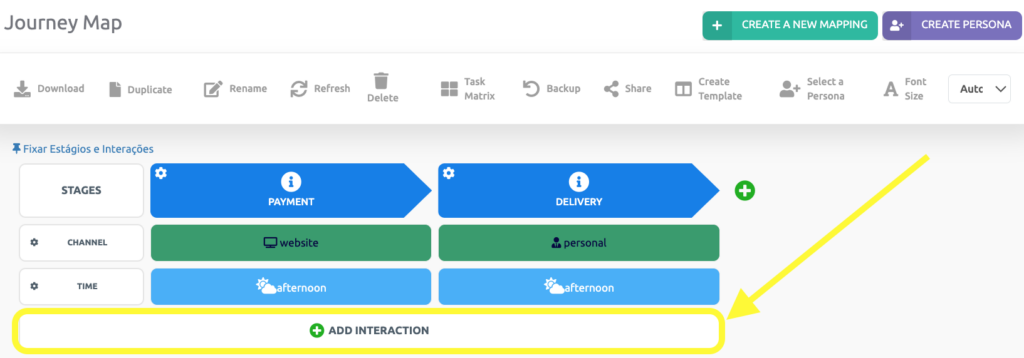
1 Click on Add interaction at the bottom of the Customer Journey Map.
.
.
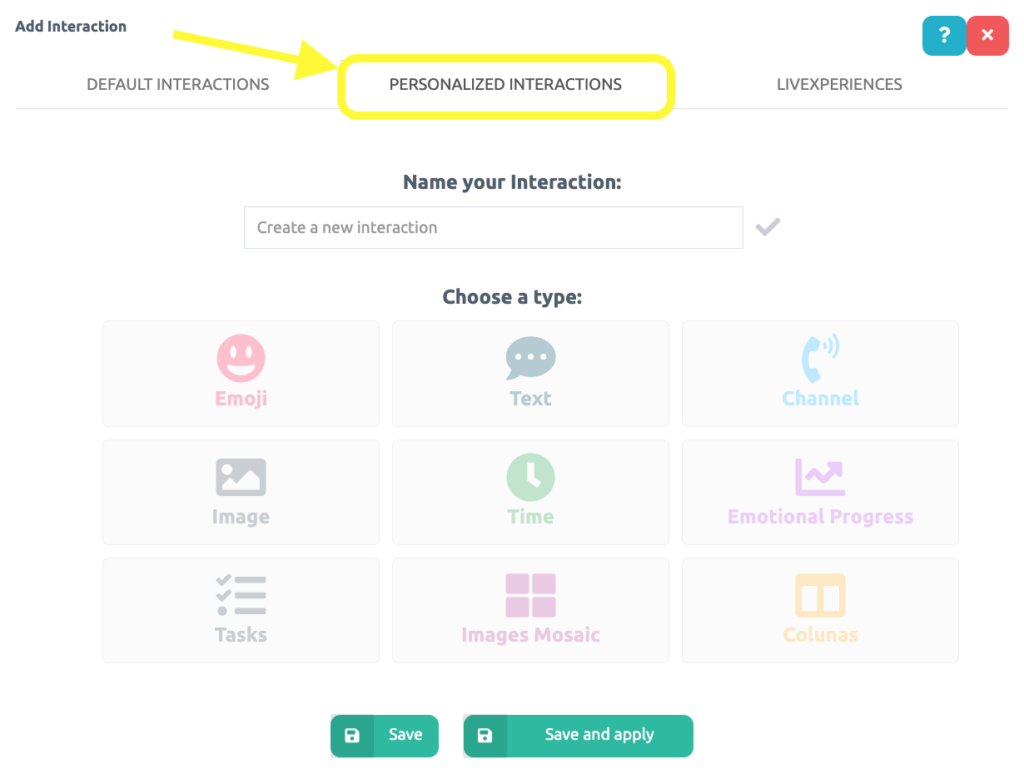
2 Click on Personalized Interactions.
.
.
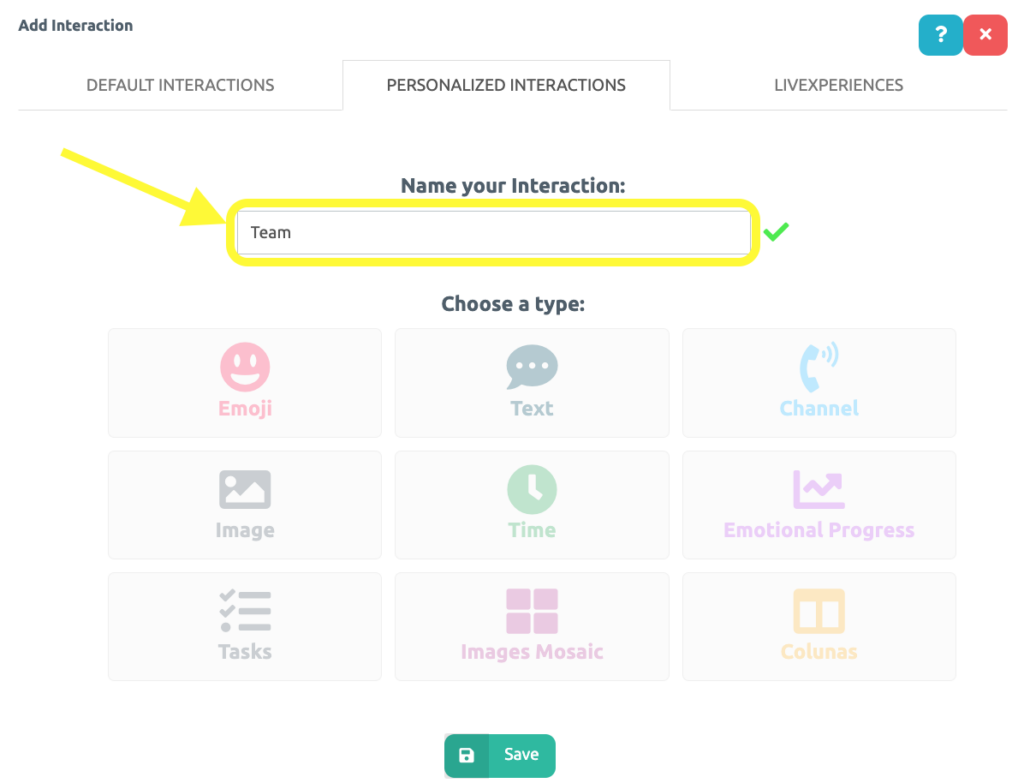
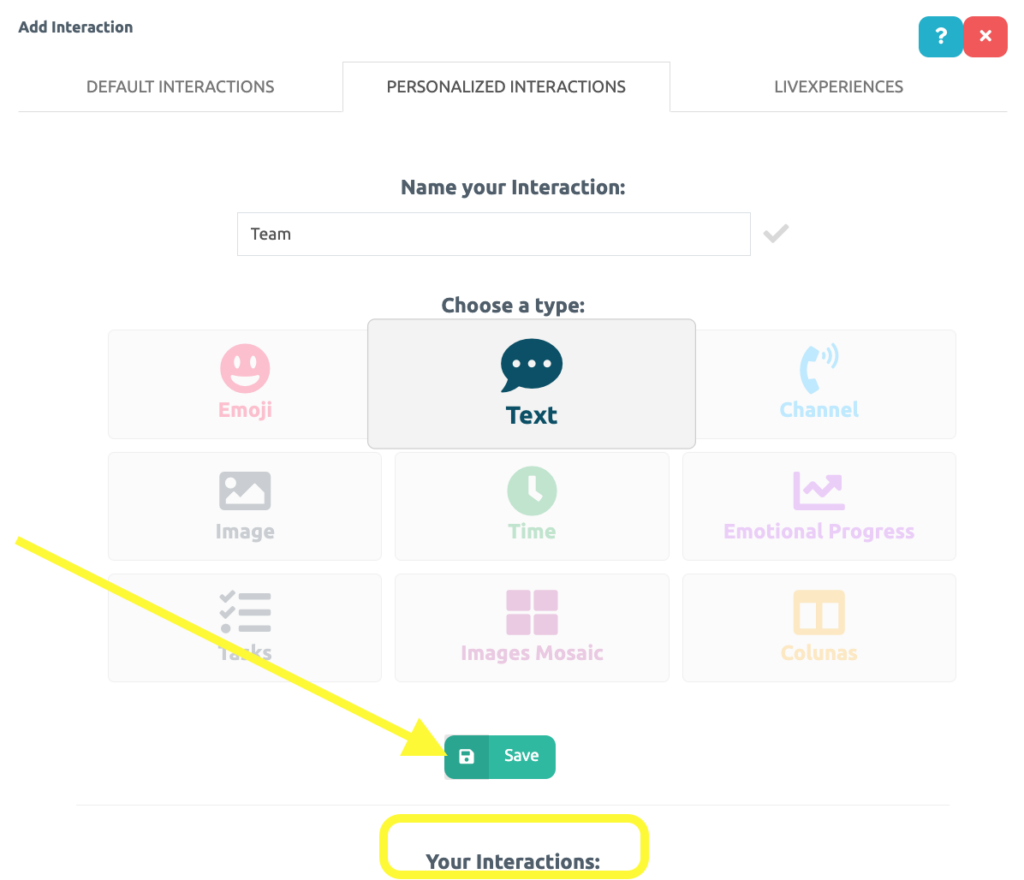
3 On the first field, enter the name of the new interaction based on what makes sense to your journey.
.
.
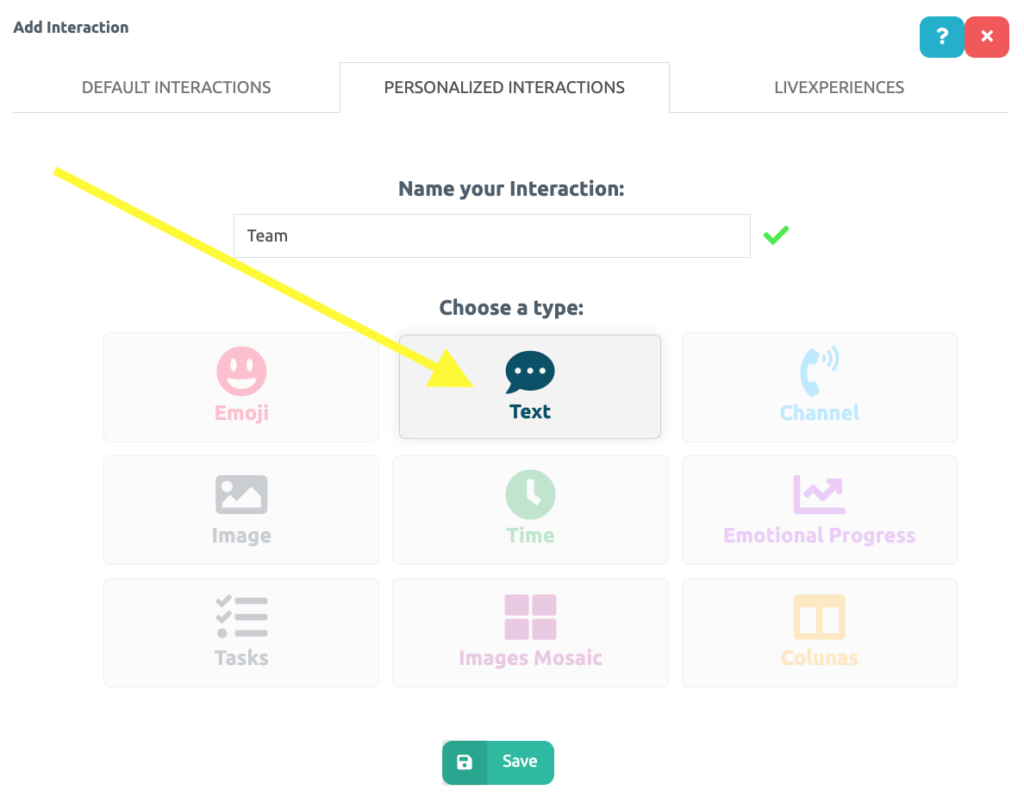
4 After that, choose the new interaction type. It can be an emoji experience (happy, sad, annoyed, etc.), channel interface (e-mail, in-person, social media, etc.), time interaction, text, image, emotional progress (similar to emoji interaction, but with a line graphic), tasks, image mosaic (two images on the same field) ou columns (up to 6 sub columns).
.
.
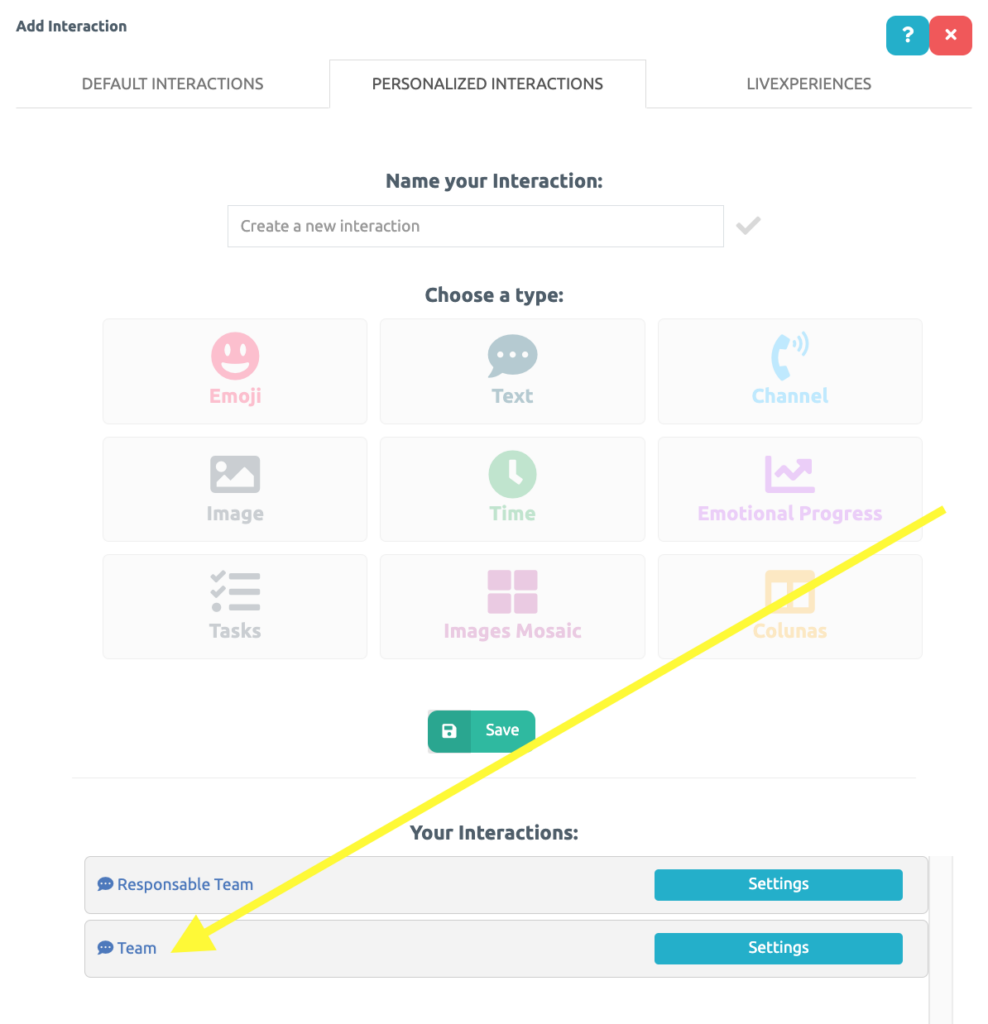
5 Click Save and this interaction will be included at the list below.
.
.
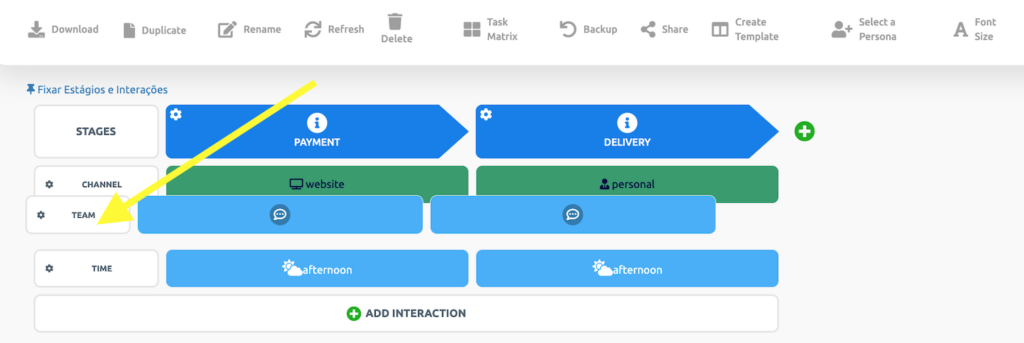
6 That’s it! Your interaction has been created and now you must add it on the map by clicking on it.
.
.
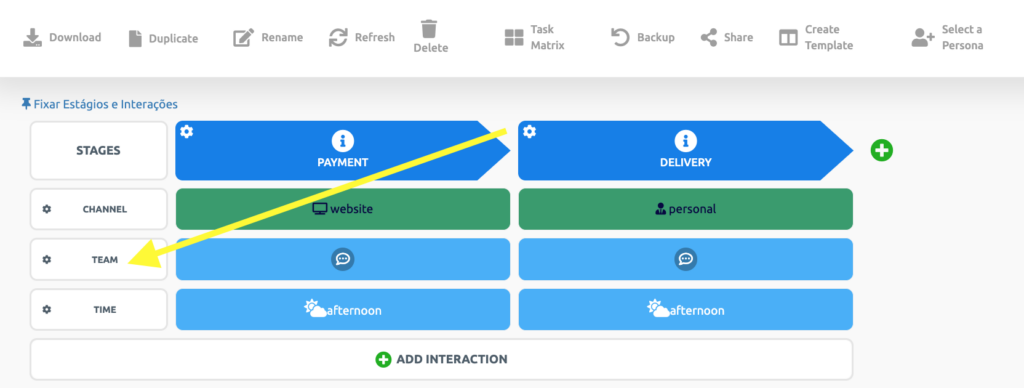
7 You may drag your new interaction to different positions in your Journey Map and add content.
.
.
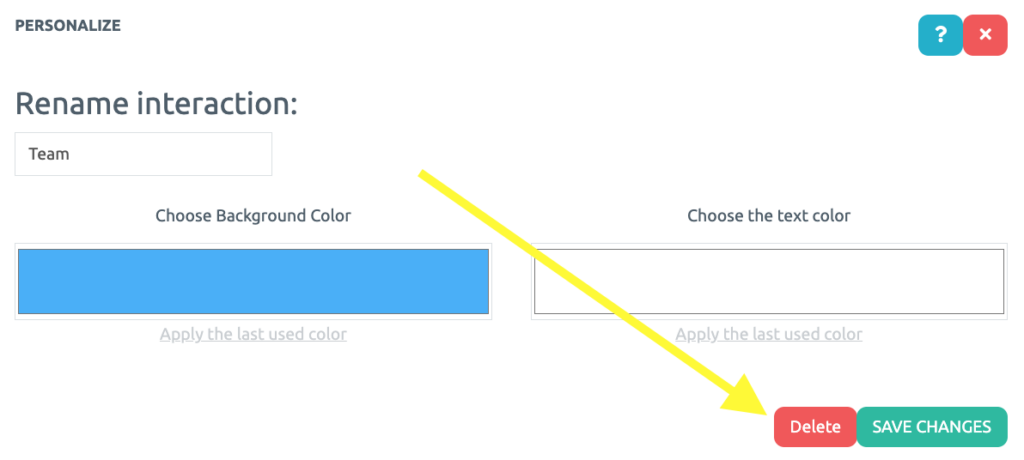
8 If you wish to delete an interaction, hover the cursor over the interaction and click on its name.
.
.
9 Next, click on Delete.
.
.
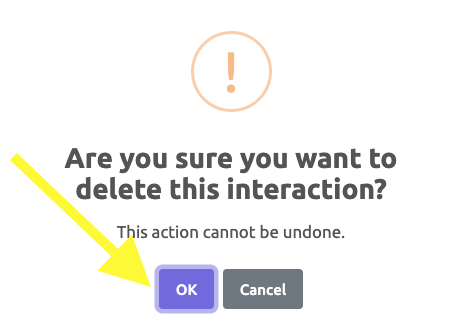
10 Lastly, confirm deletion by clicking on Ok.
.
.
See you in the next tutorial and keep sharing good experiences with PeopleXperience! 💙


