Hello, eXplorer(s) using the Expert and Enterprise versions!
In this tutorial, I will teach you how to customize the PDF file before exporting it.
.
This includes adding a text/comment, changing the logo, font, background, and page size.
.
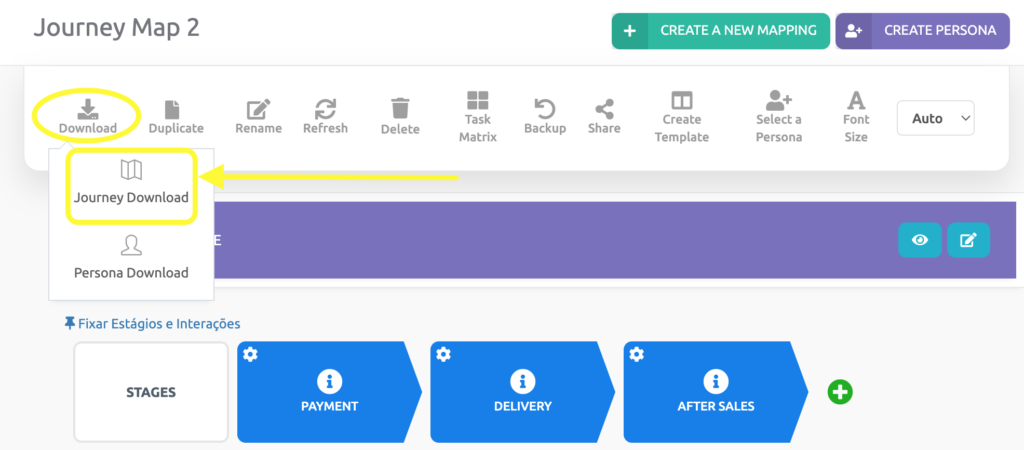
1 In your journey map menu, click on Download. If the map has a Persona attached to it, you may choose the map or the persona to export.
.
.
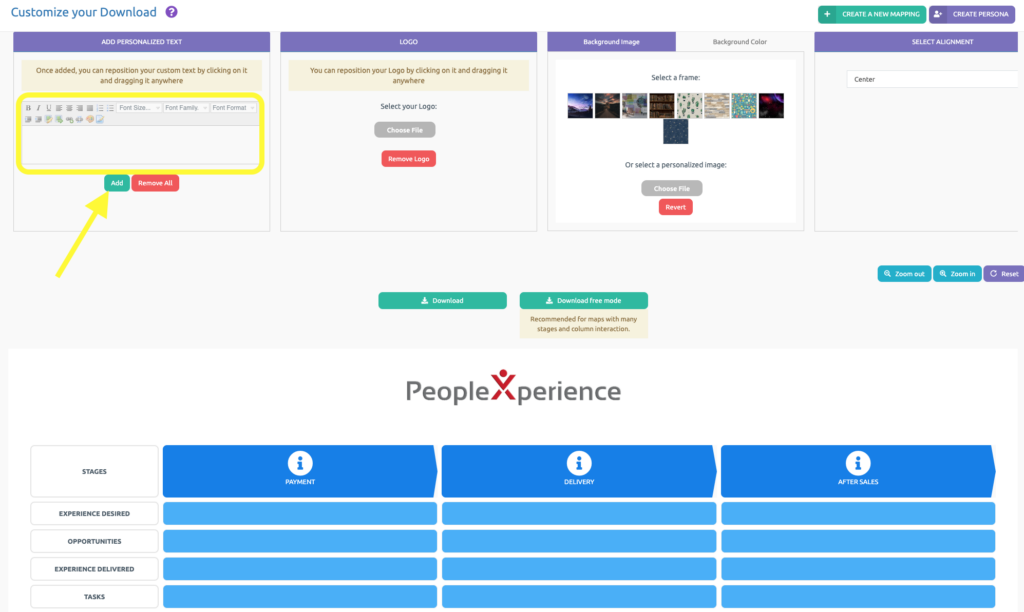
2 Firs, you may add a text or a comment in the box shown bellow. Click on Add to transfer the text to the PDF.
.
.
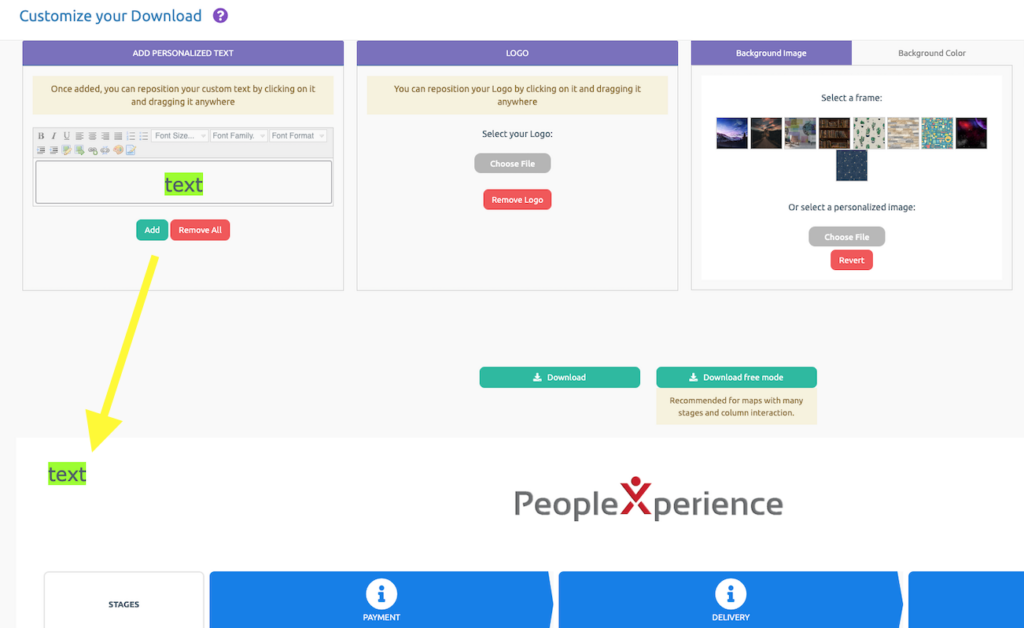
3 Your text will appear at the top left and you may drag it to anywhere around the map.
.
.
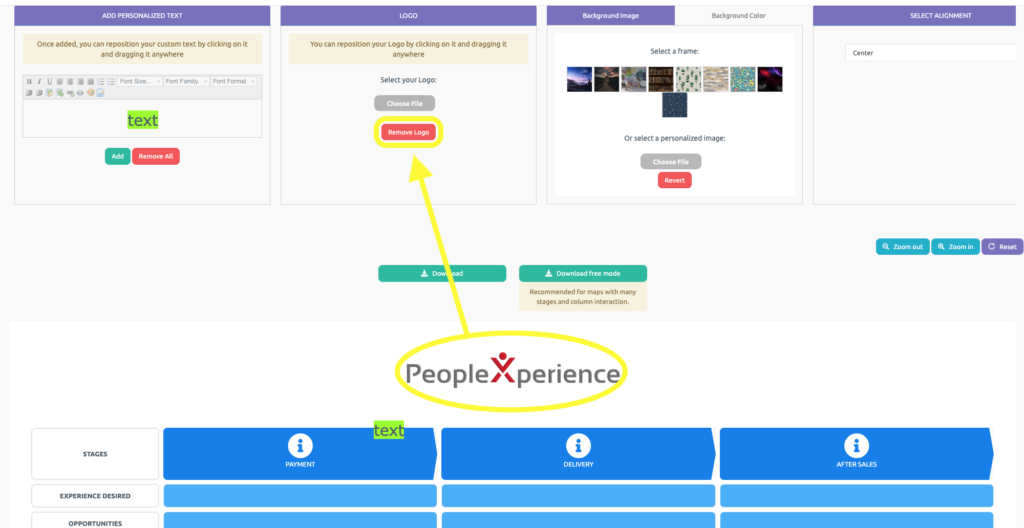
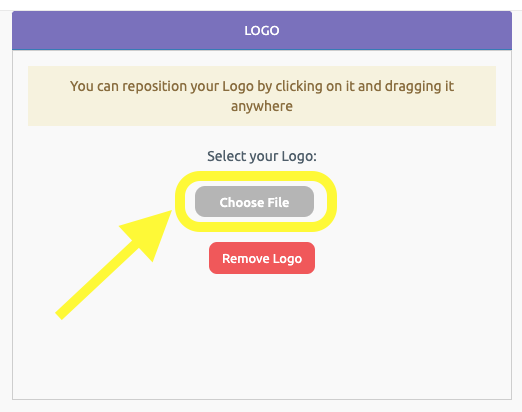
4 Secondly, you may remove PeopleXperience´s Logo by clicking on the red button Remove Logo.
.
.
5 Then, you may add your Logo to the PDF by clicking on the grey button Choose File.
.
.
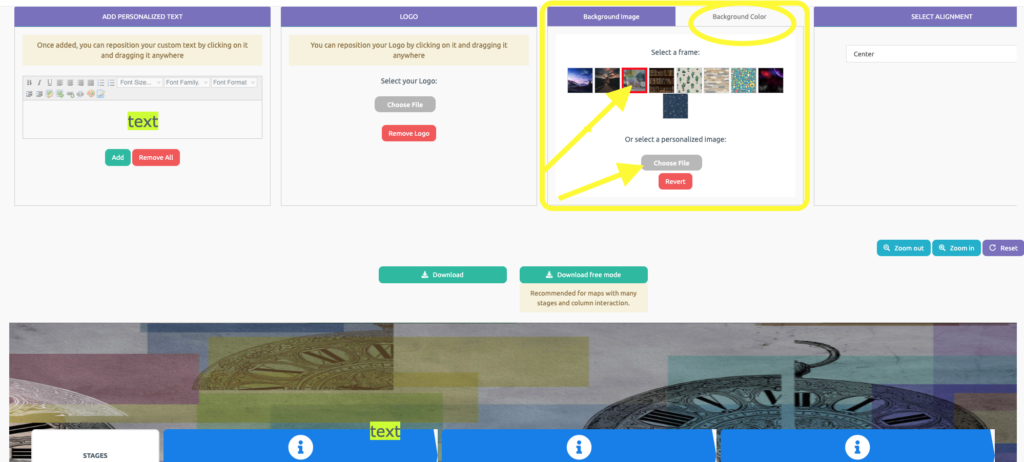
6 Thirdly, you may choose a backgroung imagem, from our collection or from a file. Or choose a background color.
.
.
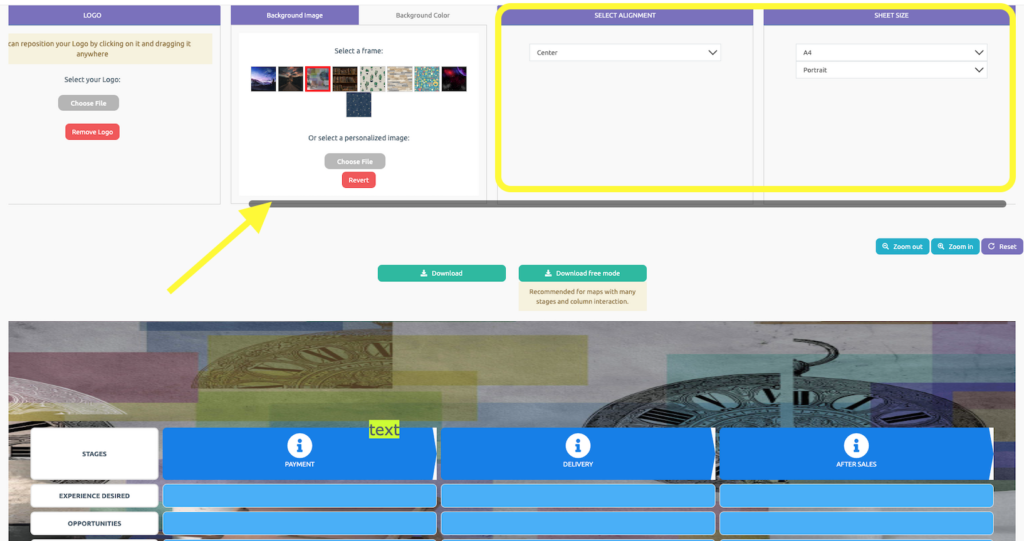
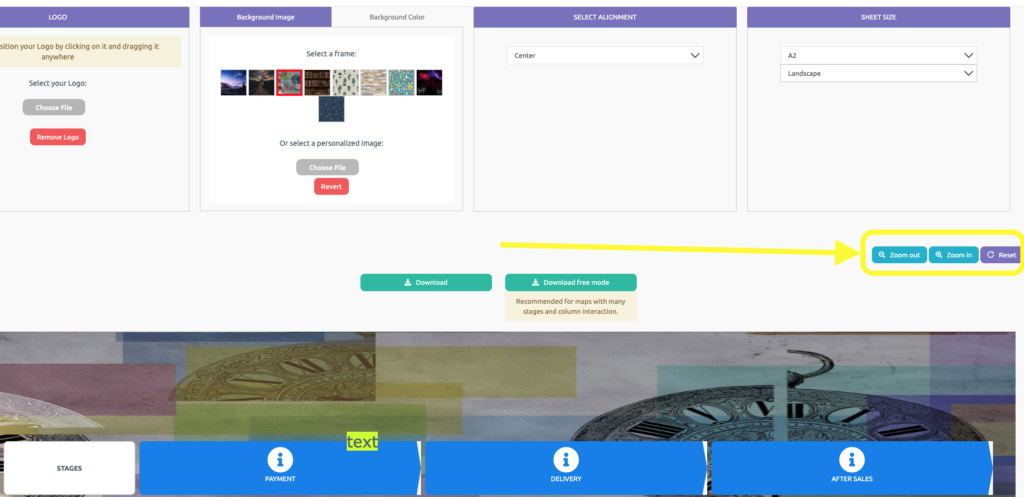
7 For a better view of the last two customizations, scroll bar to the right.
.
.
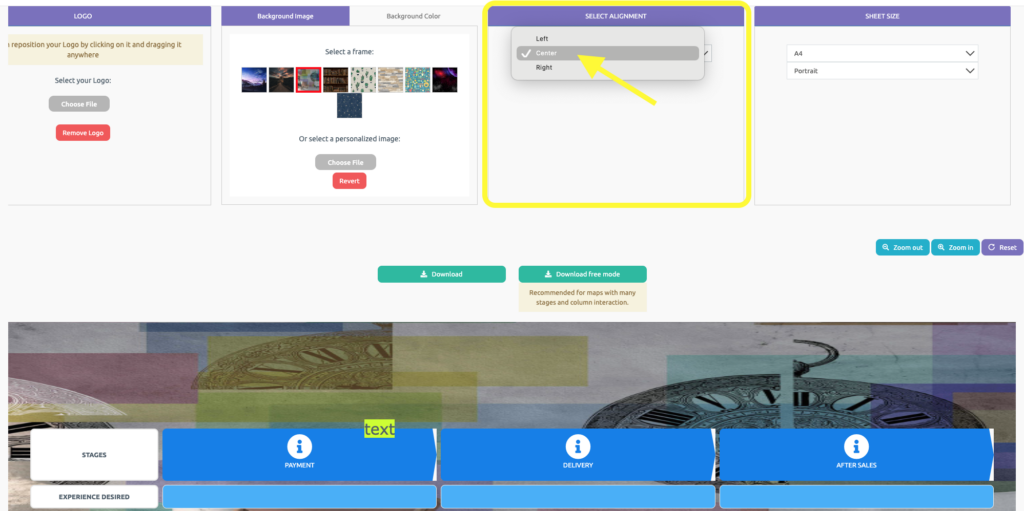
8 So, select an alignment at the fourth feature. It can be aligned to the right, center or left.
.
.
9 Lastly, choose a sheet size A1 -A5 and if you would like it as portrait or landscape.
.

.
10 You can make more adjustments to the PDF.
.
.
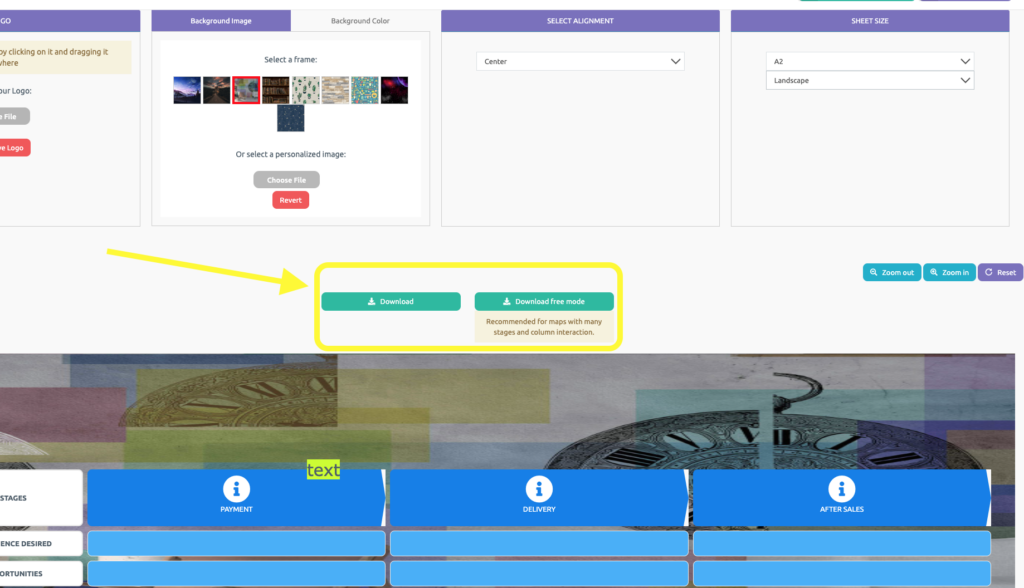
11 Finally, choose a proper Download for your map and click on it.
.
.
See you in the next tutorial and keep sharing good experiences with PeopleXperience! 💙


